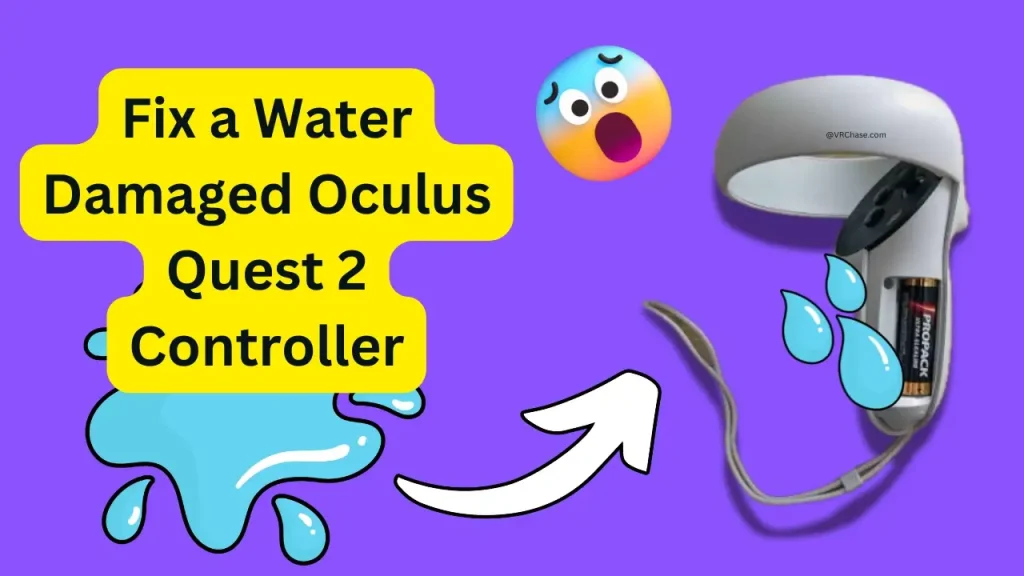
Accidentally spilled water on your Oculus Quest 2 controller? Before you panic, breathe. It happens to the best of us—one moment, you’re immersed in virtual reality, the next, you’re scrambling to save your hardware from an unexpected spill.
The good news? There’s hope. While not all water damage is reversible, acting quickly can make all the difference. This guide will walk you step by step through what to do when your Oculus Quest 2 controller goes for an unwanted swim. (Spoiler alert: No, turning it on to “check if it still works” is NOT part of the plan!)
What to Do Immediately After the Spill
1. Turn Off and Remove the Batteries
First things first—power down your controller and get that AA battery out. This step is critical because leaving the power on can cause short circuits, potentially frying the internal components.
Here’s how to do it:
- Slide off the battery cover.
- Remove the AA battery gently and set it aside (or dispose of it if you suspect it’s been damaged).
Your priority is to stop the controller from powering up further while it’s wet—it’s like putting out a fire but in tech form.
2. Resist the Urge to Turn It On
It’s super tempting to check and see if it “still works,” but trust me, don’t do it. Turning on a water-damaged controller can cause even more serious damage. Patience is your friend here.
3. Dry the Exterior
Use a soft, lint-free cloth (microfiber works great) and pat the outside of the controller dry. Focus on any visible water spots, especially around the buttons and tracking rings. Gentle is the name of the game here—no need for aggressive wiping.
How to Fix: Glitchy Hand Tracking on Oculus Quest 2
Drying Out the Internal Components
1. Use Desiccants (Rice or Silica Gel)
For the inside of the controller, you’ll want to remove as much moisture as possible. Your go-to tools here are silica gel packets (you know, the little sachets that come with new shoes) or plain uncooked rice.
Here’s how to do it:
- Place the controller in an airtight bag or container.
- Add silica gel packets or fill the container with rice, enough to fully cover the controller.
- Seal the bag and leave it alone for 24–48 hours.
Pro Tip: Silica gel is a lot more effective than rice, so use it if you have it!
2. Avoid Using Heat
Never—and I mean NEVER—use a hairdryer, an oven, or stick the controller in direct sunlight to dry it out. High heat can warp or damage the delicate internal components.
3. Try Compressed Air (If Available)
If you have a can of compressed air handy, gently blow out any excess moisture from crevices or buttons. Just don’t apply too much pressure—it might force the water deeper into the controller.
Testing It Out After Drying
After at least 48 hours, your controller should be moisture-free. Here’s what to do next:
1. Inspect for Residual Moisture
Take a moment to inspect the controller for any remaining dampness. If there’s even a hint of moisture, give it more time in the desiccant.
2. Insert a Fresh Battery
Use a brand-new AA battery (not the potentially ruined one from earlier). The last thing you want is to troubleshoot with a dead battery.
3. Test Connectivity
Try pairing your controller with your Oculus Quest 2 headset:
- Open the Oculus menu.
- Navigate to Settings > Devices > Controllers and follow the prompts to reconnect.
4. Check for Full Functionality
Test all the buttons, joysticks, and tracking sensors. Move the controller around to confirm it’s being tracked properly in the VR environment.
Troubleshooting Persistent Issues
Still not working as it should? Don’t give up yet! Here are some common problems and potential fixes:
1. Buttons or Joysticks Not Responding
- Dip a cotton swab in isopropyl alcohol (90% or higher) and gently clean the button areas. Be cautious not to oversaturate.
- Press the buttons a few times to help loosen any debris or sticky residue.
2. Controller Not Connecting
- Remove the battery for a few minutes and try re-pairing the controller through the Oculus app.
- Make sure your Oculus Quest 2 software is up to date.
3. Tracking Issues
- Wipe down the tracking rings to ensure they’re clean and free of debris.
- Update your Oculus system software to fix any compatibility bugs.
When It’s Time to Call in the Pros
If your controller is still unresponsive after all this effort, it might be time to contact Meta Support.
Things to Note:
1. Water damage typically isn’t covered under the standard warranty, but it’s worth checking your warranty terms just in case.
2. Meta Support may offer repair or replacement options at an additional cost. (This is where “Oculus Quest 2 water damage repair cost” might enter the chat.)
Preventing Future Water Damage
Avoid future water-related mishaps with these simple tips:
1. Invest in protective accessories like silicone covers for your controllers. These add an extra layer of defense against spills.
2. Keep your gaming zone free of drinks and liquids—no one needs a disaster during an intense Beat Saber session.
3. Store your controllers in a dry, safe spot when not in use. A charging dock with a cover can be a lifesaver!
Act Fast, Game On!
Water damage is a frustrating situation, but with quick action and the right steps, you have a good shot at saving your Oculus Quest 2 controller. Remember, time is of the essence—remove the battery, dry it thoroughly, and avoid heat. Once your controller is back in action, take steps to prevent the same thing from happening again.
Got deeper issues? Contact the pros. Need more tips? We’ve got your back—I mean… your headset (and controllers).
Now, what are you waiting for? Grab those controllers and get back to gaming!

