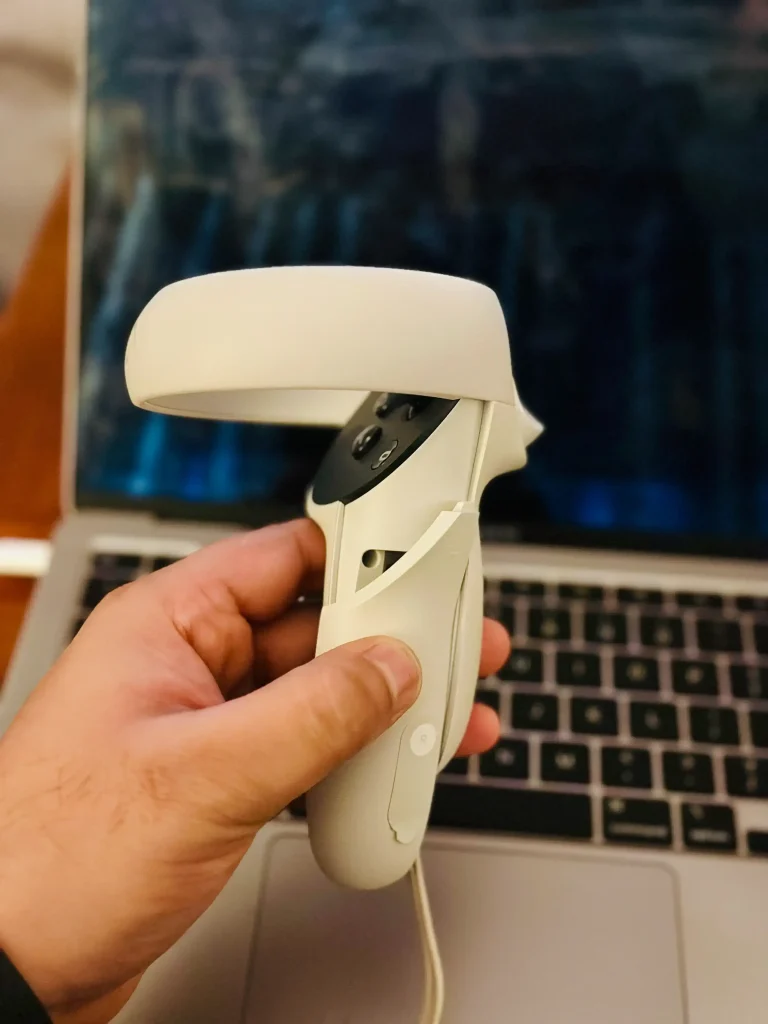
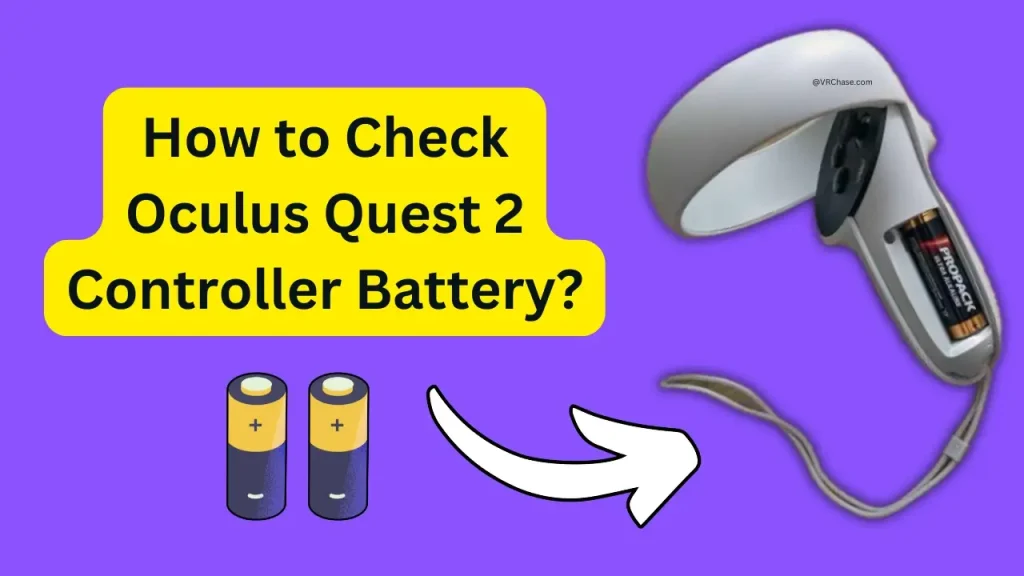
Ever found yourself dodging enemy fire in VR when—bam! — your Oculus Quest 2 controller dies in the middle of the game? We’ve all been there. Checking your controller battery levels regularly is the secret to avoiding these frustrating interruptions. The good news? It’s super easy, and we’re about to show you exactly how to do it.
By the end of this article, you’ll know:
- How to check your Oculus Quest 2 controller battery level.
- The best practices to keep your controllers juiced up.
- Solutions to common battery issues.
Pour yourself a coffee (or plug into VR mode energy), and let’s jump in.
The Basics of Oculus Quest 2 Controller Batteries
Before we dive into the “how,” it’s worth understanding the setup of your Oculus Quest 2 controllers.
Battery Type
Each Oculus Quest 2 controller uses a single AA battery. You can opt for either disposable alkaline batteries or rechargeable ones. Bonus tip? Rechargeables are cheaper and more eco-friendly in the long run.
How Long Do Batteries Last?
Depending on your usage, battery life can vary. Typically, disposable alkaline batteries last around 20-30 hours. If you use haptic feedback and spend hours gaming daily, expect battery life to dwindle faster.
Signs of Low Battery
Besides the obvious “controller disconnecting” issue, here are some early warning signs:
- Sluggish Tracking: Your hand movements feel off or delayed in VR.
- Unresponsive Controls: Buttons stop working properly.
Pro tip? Don’t wait until these signs show up—check your battery life regularly.
How to Check Oculus Quest 2 Controller Battery Levels
Now that you know the basics, here are two easy ways to check the battery life on your Oculus Quest 2.
1. Check Battery Levels via the Headset
The quickest method is by using your Oculus Quest 2 headset, and here’s how:
- Put on your headset and turn it on.
- Press the Oculus button on the right-hand controller to open the Universal Menu.
- Look at the top-right corner of the menu bar. You’ll see battery icons for the headset and both controllers.
Each controller’s remaining charge appears as a visual bar (like your phone’s battery indicator).
Why it’s handy:
You’re already in VR, so this method is quick, seamless, and doesn’t waste precious gaming time outside your virtual world.
2. Check Through the Meta Quest App
Prefer using your phone? The Meta Quest app has you covered:
- Open the Meta Quest app on your smartphone.
- Select your connected headset under the “Devices” menu.
- Scroll down to find the battery levels for both controllers.
Pro Tip: Make sure your headset and app are synced before relying on the battery levels. If they’re out of sync, the app might not display accurate info.
Suggested: Upgrade Your Quest 2 Controller Strap for Better Grip
Tips to Maximize Controller Battery Life
Keep your VR adventures rolling with these tips for extending Oculus Quest 2 controller battery life.
1. Use Rechargeable Batteries
Save money (and the planet)! Invest in high-quality rechargeable batteries explicitly designed for high-drain devices. Popular options include Eneloop Pro AA batteries or Duracell Rechargeable AA batteries.
Pro Tip: Get a set of 8 batteries—2 for each controller and 4 spares. While one set is charging, another will always be ready to go.
2. Store Controllers Safely
When you’re not gaming, treat your controllers with care:
- Store them in a cool, dry place (or buy a safe case) away from direct sunlight.
- Remove the batteries if you won’t be using the controllers for weeks. This prevents any risk of corrosion.
3. Adjust Haptic Feedback Intensity
Haptic feedback is awesome for immersion, but it drains your battery faster. Reduce the intensity by:
- Accessing Settings > Devices > Controllers in your Oculus menu.
- Lowering the vibration feedback.
Sometimes, less vibration equals more playtime (and a less panicked “Where’s my spare battery?!” scramble mid-game).
Troubleshooting Common Battery Issues
Even with regular maintenance, battery problems can pop up. Here’s what to do:
Problem 1: Battery Level Isn’t Updating
Your headset doesn’t show recent battery updates? No worries. Try these fixes:
- Restart the headset to refresh the battery indicators.
- Inspect the battery contacts inside the controllers for dust or corrosion. Clean them with a dry cloth or cotton swab if needed.
Problem 2: Controller Drains Battery Too Quickly
If your controller guzzles battery power like a thirsty marathoner, here’s what might be happening:
- Culprit: Faulty battery or software bug.
- Fixes: Use a fresh high-quality battery or update your Oculus software.
If the issue persists, contact Oculus Support for professional assistance.
Also Check: How to Fix Oculus Not Charging From PC?
How to Replace Oculus Quest 2 Controller Batteries
When it’s finally time for a battery change, here’s how to open the Oculus Quest 2 controller battery compartment:
- Locate the battery cover on the handle of the controller.
- Find the small arrow indicating the direction to slide.
- Gently push and slide the cover off.
- Replace the existing AA battery with a fresh one, ensuring the plus (+) and minus (-) ends match the markings inside.
Stuck cover?
If the battery cover doesn’t slide off easily, try pressing down gently while sliding to release it. Still stuck? Grab a rubber grip or cloth for better traction.

Stay Powered Up and Game On
Knowing how to check your Oculus Quest 2 controller battery (and maintain it!) is a game-changer—literally. With these simple steps, you’ll never be caught out mid-game with unresponsive controllers.
Here’s a quick recap for your next gaming adventure:
- Check battery life directly through the Oculus headset or Meta Quest app.
- Use rechargeable AA batteries to save money and reduce waste.
- Troubleshoot issues calmly—most battery hiccups have quick fixes.
Prepare for endless virtual reality fun! And don’t forget to keep a spare pair of batteries handy to avoid any interruptions.
Happy gaming—and may your Quest 2 always be fully powered.

