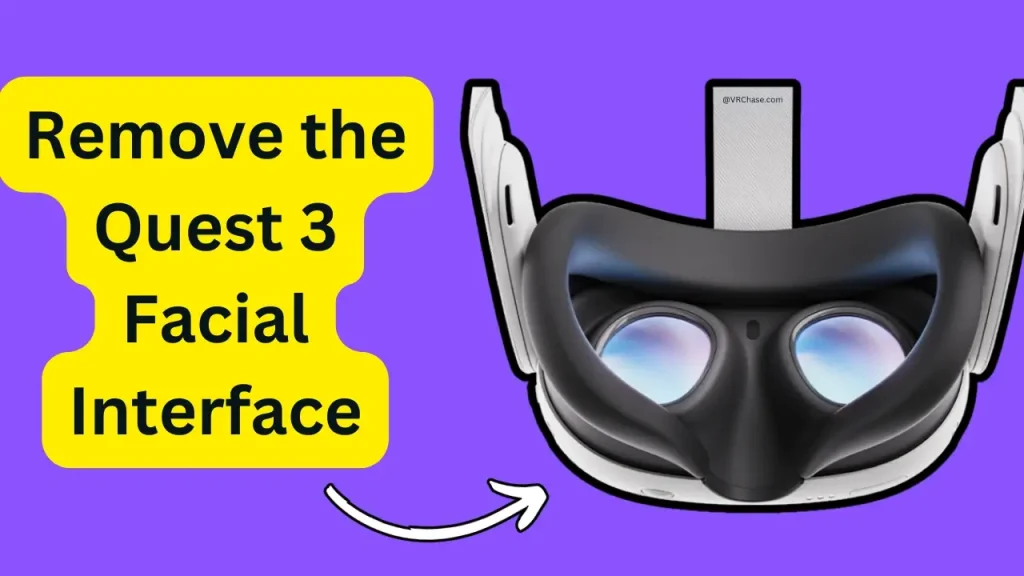
Is your Quest 3 starting to feel uncomfortable? Or maybe you’re just looking to keep it fresh and clean? Removing the facial interface might be exactly what you need.
The facial interface is a key part of your Quest 3 VR headset — it ensures you get a comfortable fit, blocks out unwanted light, and keeps you immersed in the virtual world. But whether it’s starting to feel a little worn or you’re curious about upgrading to a Meta Quest 3 silicone facial interface or another third-party option, taking off the current one is actually super easy.
Here’s a step-by-step guide on how to safely and easily remove the Quest 3 facial interface to clean, replace, or upgrade it — saving you time, frustration, and maybe even a headache!
What You’ll Need
Before you start, get these essentials ready to ensure a smooth removal process (and to avoid any unnecessary scratches or damage to your headset):
- Your Quest 3 headset
- A clean, soft surface (like a microfiber towel or a cushioned table) to rest the headset on while working.
- Optional (but helpful!): replacement facial interface, cleaning supplies, or a backup Meta Quest 3 silicone facial interface for reinstalling.
Good to Go? Alright, let’s jump in!
Suggested: Best Flight Simulator Games for Oculus (Free & Paid)
Step-by-Step Guide to Remove the Quest 3 Facial Interface
Step 1. Prepare the Headset
First things first, make sure you’re working in a safe and clean space.
- Turn the Quest 3 Off – This prevents accidental inputs and keeps everything under control while you work on the headset.
- Remove Any Accessories – If you’ve attached cables, straps, or other VR accessories, unplug those now.
- Set It Down Gently – Place the headset on your prepped soft surface to avoid scratching the lenses or damaging the hardware.
Step 2. Spot the Facial Interface
Now, look at your Quest 3 headset. The padded section that rests against your face (yep, the comfy part) is the facial interface. It’s securely attached to the plastic frame of the headset, but don’t worry—it’s designed to come off!
Step 3. Start the Removal
- Hold the Headset Firmly with One Hand – Position your fingers around the plastic frame of the Quest 3 to keep it steady.
- Grip the Facial Interface – Use the other hand to grab the padded part of the interface.
- Gently Pull It Outward – Apply even, steady pressure. It may feel snug (it’s supposed to be!), but a little tug should detach it without too much hassle.
If it feels resistant, don’t force it—double-check that you’re gripping the right areas!
Step 4. Inspect the Interface and Headset
Once it’s off, give everything a quick check-up.
- Check the Interface – Notice any dirt, wear, damage, or discomfort-inducing spots?
- Inspect the Attachment Points on the Headset – These should be clean and undamaged. Dirt or gunk here might lead to a loose fit later, so give them a quick wipe if needed.
Congratulations—you’ve removed the Quest 3 facial interface!
Also Check: How to Encode Resolution Width for Oculus Link?
When Should You Replace or Clean the Facial Interface?
Taking care of the facial interface isn’t just about appearances—it’s about comfort, hygiene, and optimal gaming performance. Here are some tips to know when to replace or clean it:
Replace It If…
- The padded material feels worn or uncomfortable.
- You notice cracks, tears, or other signs of damage.
- You’re ready to upgrade—some third-party options, like the Meta Quest 3 silicone facial interface, can provide extra comfort, better ventilation, or improved light blocking.
Clean It Regularly To…
- Prevent skin irritation from sweat or dirt build-up.
- Keep your headset hygienic, especially if you’re sharing it with others. Use a damp microfiber cloth and mild soap to wipe it down—just don’t soak it!
Bonus tip: If your Quest 3 facial interface feels loose or you’re experiencing fit issues during gameplay, cleaning the attachment points can sometimes help improve the grip.
Tips for Reattaching the Facial Interface
After cleaning, replacing, or upgrading, putting the facial interface back on the headset is just as easy as taking it off.
Here’s how to reattach it securely:
- Align the Clips – The plastic clips on the back of the interface should line up perfectly with the slots on the headset frame.
- Press Gently But Firmly – Push the interface into place until you hear it “click” securely.
- Verify the Fit – Before jumping into a game, double-check that it feels attached and comfortable. Nothing ruins VR fun faster than a wobbly interface mid-game!
Got a Quest 3 facial interface button stuck or another issue? Check those attachment areas for obstructions or debris—you’ll likely find the culprit there.
Also Read: How to Fix Oculus Not Charging From PC?
Final Thoughts
Removing and reattaching the Quest 3 facial interface is quick, easy, and essential for keeping your VR headset in top shape. Whether you’re swapping it out to clean, replace, or upgrade with a new accessory, following these simple steps ensures a hassle-free experience.
Remember, taking care of your hardware helps you enjoy longer, more comfortable VR sessions—and isn’t that the whole point?
Now it’s time to get back to exploring your favorite VR worlds—fresher, cleaner, and comfier than ever. Got any questions or looking for more VR gear tips? Drop a comment below or check out our guide to the best upgrades for Quest 3 accessories.
Happy gaming!

