Are you spending hours traversing virtual worlds, only to feel like your VR headset is winning the battle between comfort and fun? You’re definitely not alone. The Oculus Quest 2 is one of the most popular VR headsets on the market, but it’s no secret that comfort isn’t always its strong suit—especially for marathon gamers or anyone wearing glasses.
Don’t worry, though. With a few tweaks and some handy accessories, you can turn your Quest 2 into a much more comfortable device, capable of delivering an immersive experience without the discomfort. Whether you’re wondering “how to wear Oculus Quest 2 comfortably” or looking for solutions to make it more glasses-friendly, I’ve got you covered.
Let’s break it down into simple steps so you can fully enjoy your virtual adventures.
Adjust Your Headset for the Perfect Fit
Before you start investing in add-ons or accessories, the first thing you should do is adjust the included head strap and accessories for a better fit. A factory-fitted setup doesn’t guarantee a one-size-fits-all solution, so here’s how to make it work for you.
1. Adjust the Head Straps
Top Strap
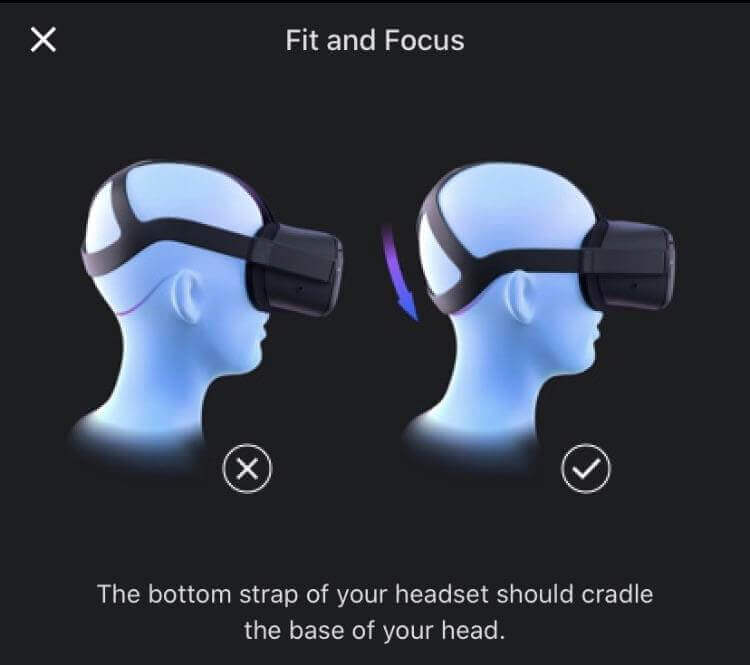
Start with the top strap. Adjust it until the headset feels like it’s evenly distributing the weight across your head. If it feels like all the pressure is on your forehead or temples, you need to loosen or tighten it accordingly.
Side Straps
The side straps play an important role in alignment. Make sure these straps are snug but not too tight. They should keep the headset steady without leaving marks on your face or causing discomfort.
Pro Tip
Adjust the straps until the lenses align perfectly with your eyes. This helps reduce eye strain while you play, offering both comfort and a clearer view.
2. Find the Right Tightness
Use the side buckles to fine-tune the overall fit. The goal is to make the headset feel secure on your head without clamping down like a vice. Wiggle the headset slightly after each adjustment to ensure it stays in place during gameplay.
By getting the fit just right, you’ll already notice a significant difference in comfort. But we’re just getting started.
Improve Facial Comfort
Sometimes, facial discomfort stems from the stock foam padding. Luckily, this is an easy fix, and you have plenty of options to upgrade the comfort level.
1. Use a Facial Interface Cover
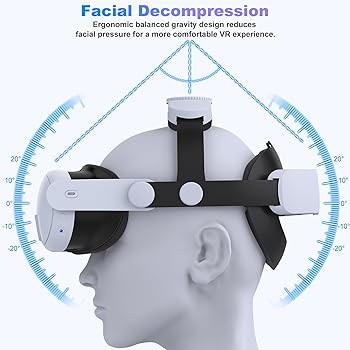
The default facial interface foam that ships with the Quest 2? Not the greatest. Try upgrading it with one of these alternatives based on your needs:
These covers are washable and reduce itchiness or irritation. They’re perfect if you’re prone to sweating during intense VR sessions.
Memory Foam Padding
Memory foam pads provide an ultra-soft feel. They’re great for cushioning sensitive areas like the nose and cheeks.
2. Prevent Lens Fogging
Foggy lenses are a massive buzzkill.
- Use an anti-fog spray or lens cloth to keep your view clear.
- Alternatively, invest in a ventilated facial interface. These are designed to improve airflow and reduce the buildup of sweat and fog during long gameplay sessions.
Your face deserves better. Trust me—just swapping out the default padding can make your Quest 2 feel like a whole new headset.
Reduce Pressure Points
Is the weight of the headset driving you nuts? Pressure points are another common issue with the Quest 2, but there are clever ways to resolve this.
1. Upgrade to an Elite Strap or Comfort Strap
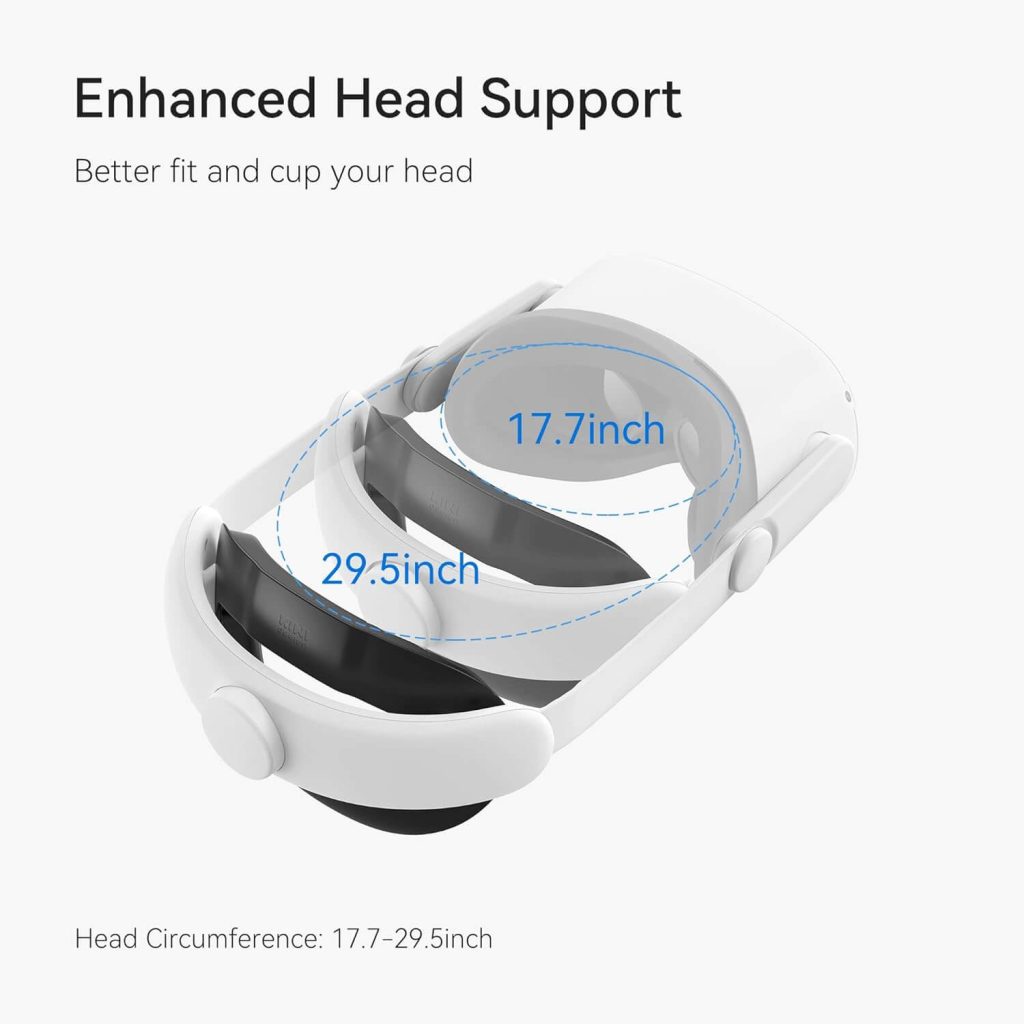
The Oculus Elite Strap is a game-changer. Unlike the default strap, it comes with added padding that reduces both forehead and neck strain. If the Elite Strap is out of your budget, look for third-party options with similar designs.
2. Add a Battery Pack to Balance Weight
This hack is a lifesaver! Clip an external battery pack to the back of your headset. It not only extends your playtime but also redistributes the weight so your neck feels less strain. The counterbalance makes the headset feel significantly lighter during use.
Speak of two birds, one stone!
Enhance Eye Comfort
Your eyes work hard during a VR session, so they deserve optimal care.
1. Adjust the IPD Slider
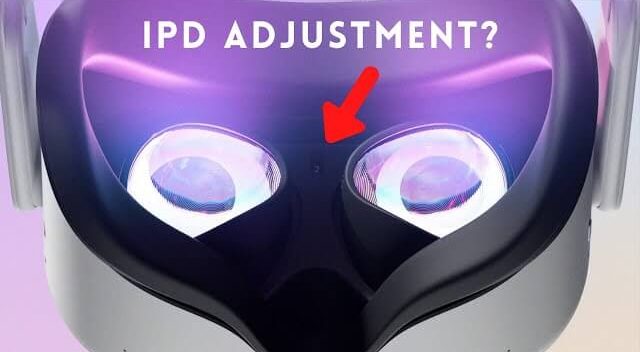
The IPD (Interpupillary Distance) slider on your Quest 2 helps align the lenses with the distance between your eyes. Proper IPD settings lead to better clarity and less eye strain. Experiment with the slider to find the best setting for your comfort.
2. Add Blue Light Blocking Lenses
Staring at screens for hours can make your eyes tired. Blue light blocking lens inserts can reduce eye fatigue and strain, allowing for longer play sessions without discomfort. Plus, they’re a must-have accessory if you’re thinking, “how do I make my Oculus Quest 2 more comfortable with glasses?”
Optimize Your VR Experience with Regular Breaks
Comfort isn’t just about your headset—it’s also in how you use it.
1. Take Regular Breaks
Play smart! For every 20 to 30 minutes of gameplay, step back, stretch, or just blink a few times. Simple movements go a long way in preventing stiffness.
2. Adjust Game Settings
Certain games have built-in comfort settings to make VR sessions more enjoyable. Play around with features like reduced motion (great for reducing fatigue) or custom brightness levels to minimize eye strain.
Invest in Game-Changing Accessories
Sometimes, the little add-ons can make the biggest difference.
1. Upgrade the Padding
Third-party padded forehead and cheek cushions can offer better support while preventing skin irritation. Make sure to choose breathable materials for longer playtime.
2. Consider Prescription Lens Inserts
If you wear glasses, ditch them for prescription lens inserts. They’re custom-built for the Quest 2 and make wearing the headset much more comfortable—no more awkward gaps or misaligned straps.
Final Thoughts on Making Your Oculus Quest 2 Comfortable
Virtual reality should transport you to another world—not leave you with a headache. By following these tips and upgrading with thoughtful accessories, you can vastly improve your Quest 2 experience. From adjusting straps and padding to adding lens inserts and external battery packs, these small changes make a world of difference.
But no two gamers are the same. Experiment with different tweaks and setups to find what works best for your needs. Whatever you choose, know that comfy gaming is just a few adjustments away.
Happy gaming—and don’t forget to double-check that your coffee table is out of the way before you start swinging your controllers around!

