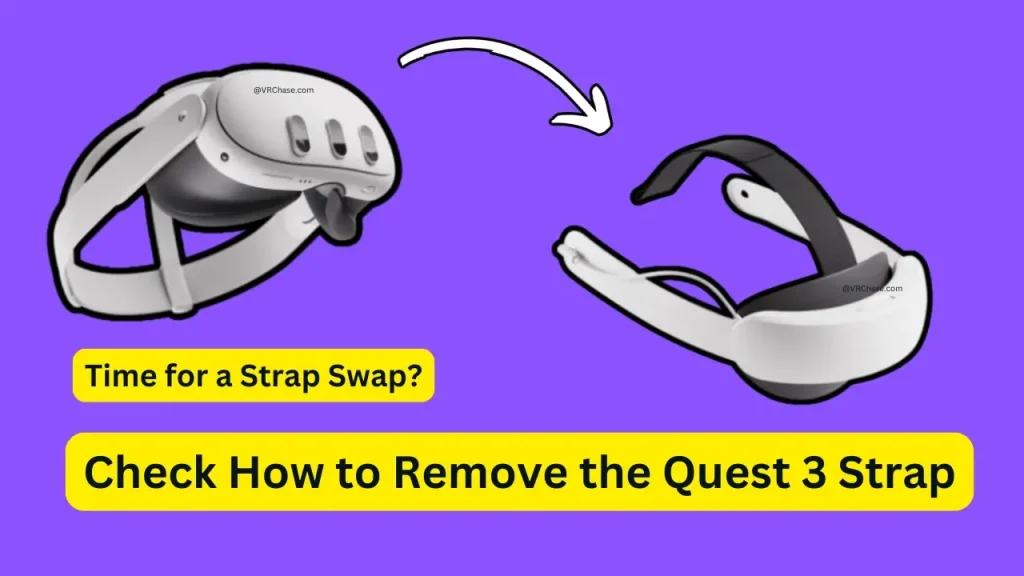
Time for a Strap Swap? We’ve Got You Covered!
Looking to replace or upgrade your Quest 3 strap for a better fit or added comfort? Maybe you’ve got your eye on that fancy elite strap with a built-in battery, or perhaps you’re just keen to give your current strap a good clean. Whatever the reason, you’re in the right place—removing your Quest 3 strap is easier than you might think.
This guide will break it all down step-by-step. By the end of it, you’ll know exactly how to remove the Quest 3 strap, whether you’re upgrading, swapping, or just giving it a refresh.
What You’ll Need Before Getting Started
Before we dive in, make sure you’re set up with everything you need:
1. Your Meta Quest 3 headset (a.k.a. the star of the show).
2. A soft surface (like a clean towel or soft cloth) to rest your headset and avoid scratches.
3. Replacement strap (if swapping it out)—whether it’s the upgraded Meta Quest 3 Elite Strap with Battery or a third-party choice like the Kiwi Head Strap Quest 3.
Alright, ready? Let’s dig in!
Suggested: Connect My PSVR2 Controllers to PS5
Step-by-Step Guide to Removing the Quest 3 Strap
Step 1: Power Down and Prep
First things first—turn off your Quest 3. No one wants random buttons getting pressed mid-process. Disconnect any attached cables or accessories (controllers, chargers, etc.) and place your headset on your soft surface to keep it safe.
Quick tip: Do this in a well-lit area so you can clearly see what’s what!
Step 2: Remove the Top Strap
- Find the top strap (it’s the band that runs right over the crown of your head).
- Carefully slide the strap out of the loop or attachment at the top of the headset.
- Gently pull it free—no tools or force needed here!
Pro Tip: Hold onto that top strap! Even if you’re upgrading to a new strap, keeping all original parts is always a good idea (just in case).
Step 3: Detach the Side Straps
- Locate the two side straps—these are connected near the headset’s speakers.
- Hold your headset steady, then gently pull each side strap out of its slot.
- If it feels stuck, don’t yank! Apply firm but steady pressure instead to avoid damaging the connectors.
Ta-da! Your Quest 3 is now strap-free.
Step 4: Inspect Everything
Before calling it a day, take a second to check things over.
- The old strap—Is it stretched, frayed, or looking worse for wear? It might be time for a permanent upgrade.
- The headset connectors—Ensure there’s no debris or damage in the attachment points. Clean any dust if needed.
Doing this not only ensures your device is in good shape but also makes the reattachment process smoother.
Also Check: How to Check Your Vive Tracker Battery
When to Replace, Upgrade, or Clean Your Strap
Now that the strap’s off, what’s next? Here are a few scenarios where replacement or upgrading makes sense:
1. Replace when the original strap is uncomfortable, worn, or no longer fits securely. A stretched strap can make your VR games feel more like a workout.
2. Upgrade to a strap that offers additional comfort and functionality. For example, check out the Meta Quest 3 Elite Strap with Battery for extended play sessions or try a well-reviewed option like the Kiwi Head Strap Quest 3 for added comfort.
3. Clean the strap if it’s just sweaty or dusty—some straps can be hand-washed with mild soap and water. Always dry completely before reattaching.
How to Reattach (or Replace) the Strap
Getting your strap back on (or attaching a new one) is just as simple as taking it off. Here’s how to do it:
1. Side Straps First: Insert the new (or cleaned) side straps into their slots. You should hear or feel a click when they’re securely in place.
2. Top Strap Next: Thread the top strap through the loop or attachment point on the headset crown. Adjust the length to fit your head.
3. Double-Check Fit: Pop the headset on and test the straps. Adjust them as needed for a snug, comfy fit—and you’re good to go!
Also Read: Encode Resolution Width for Oculus Link
Bonus Tips for a Smooth Process
Here are a few extra quick tips to make sure everything goes without a hitch:
1. Be gentle: Tugging too hard on the straps can damage both the strap and headset connectors.
2. Use a clean workspace: Always rest your Quest 3 on a soft and clean surface to avoid scratching it.
3. Follow third-party strap instructions: If you’re installing an upgraded strap, like an elite or battery strap, check the manufacturer’s guides for any additional steps.
4. Adjust first, game second: Once your strap is secure, use a mirror or ask a friend to adjust it for perfect alignment before jumping back into VR.
Level Up Your Quest 3 Experience
That’s it—removing (and replacing) the Quest 3 strap is a breeze once you know the steps. Whether you’re upgrading to a premium strap, cleaning your current one, or doing routine maintenance, following this guide will make the process smooth and stress-free.
Remember, the right strap can elevate both your comfort and gameplay experience. Treat your headset well, and it’ll reward you with countless immersive adventures.
If you’re looking for strap recommendations or need help deciding between options, feel free to explore our picks for the Meta Quest 3 Elite Strap with Battery and other top-rated upgrades. You deserve the best for your VR setup!

