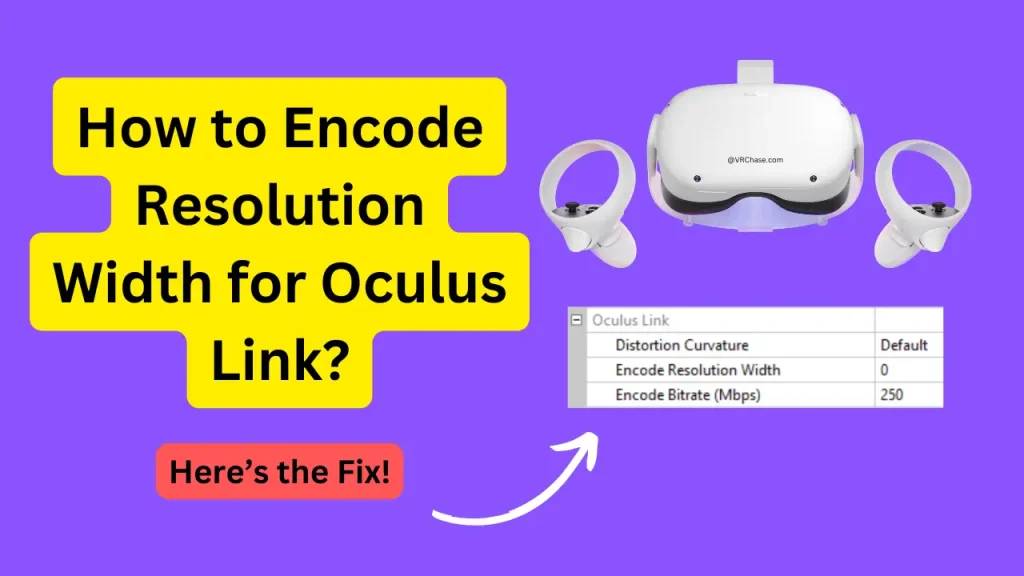
Want to fine-tune your Oculus Link visuals? Adjusting the encoded resolution width can drastically enhance your VR experience. It’s not just about making games look pretty—this setting determines how sharp (or blurry) your virtual world appears and how smoothly your system runs. Whether you’re exploring a futuristic city or dodging lasers in your living room, finding the perfect resolution width helps you get the most vibrant visuals without annoying stutters.
This guide will break everything down simply and step-by-step. Whether you’re using the Quest 2, Quest 3, or have a specific GPU like the RTX 3060 or RTX 3080, you’ll find everything you need. By the end, you’ll be ready to tweak your settings like a pro and enjoy an ultra-immersive VR experience.
What Is Encoded Resolution Width in Oculus Link?
Before we touch anything, it’s important to understand what encoded resolution width actually does. Think of it as the horizontal resolution of the video stream your PC sends to your Oculus headset over a cable or Air Link.
Higher Resolution Width = Sharper visuals, but it pushes your GPU and Wi-Fi harder.
Lower Resolution Width = Smoother gameplay with less strain, but visuals become softer.
This balance is crucial because not all PCs or networks are created equal. High-end GPUs like the RTX 3080 can handle higher widths (hello, crystal-clear graphics), while lower-end GPUs, like the GTX 1660, might need to stick to lower values for stable performance.
Suggested: Valve Index Base Station Blinking Red?
How to Check Your Current Encoded Resolution Width
Not sure where your settings even stand right now? No worries—here’s how you can find them in under a minute using the Oculus Debug Tool (ODT).
- Open the Oculus Debug Tool
- This handy tool can be found in the Oculus support folder. Navigate to `C:\Program Files\Oculus\Support\oculus-diagnostics`.
- Double-click on OculusDebugTool.exe to launch it.
- Find the Setting
- Once the tool is open, locate the “Encode Resolution Width” parameter under the Performance section.
- This displays your current resolution width. If it’s blank, that means the system is using the default settings based on your hardware.
Feeling ready? Great—now it’s time to make things even better.
Step-by-Step Guide to Adjust Encoded Resolution Width
Step 1: Open the Oculus Debug Tool
- Head over to `C:\Program Files\Oculus\Support\oculus-diagnostics` on your PC.
- Double-click on OculusDebugTool.exe.
Step 2: Adjust the Resolution Width
- Scroll to the Encode Resolution Width option.
- Enter a value based on what works for your GPU:
- Higher-End GPUs (e.g., RTX 3080/3090): 3648 for stunning sharpness.
- Mid-Tier GPUs (e.g., RTX 2060): Try 2432 for a balance of performance and visuals.
- Lower-End GPUs (e.g., GTX 1660): Stick to 1920 for smoother gameplay.
- Yes, that’s it! You’re just typing a number.
Step 3: Save and Restart
- Close the Oculus Debug Tool after making adjustments.
- Restart the Oculus software (or in some cases, your PC) to apply these new settings.
It’s really that simple!
Also Check: (Fixed) Air Link Lag on Oculus Quest 2
Best Practices for Encoded Resolution Width Settings
The optimal resolution width depends on your hardware and setup. Here’s how to find the sweet spot for your system:
1. Match the Resolution to Your Hardware
- High-End Systems (RTX 3080/3090):
- Use a width of 3648 for ultra-crisp visuals. You’ll feel like you can almost “touch” those VR textures.
- Mid-Tier Systems (RTX 2060):
- Stick with a moderate setting like 2432 for a balance of graphics and performance.
- Lower-End Systems (GTX 1660):
- Set it to 1920. It’s better to sacrifice sharpness slightly than to deal with laggy gameplay.
2. Optimize Your Network for Air Link
If you’re using Air Link instead of a cable connection, your network plays a big role.
- Ensure you’re on a 5GHz Wi-Fi connection for smoother streaming.
- Place your router as close as possible to your play area.
- Avoid network congestion by disconnecting other devices (sorry, smart fridge).
3. Test Until It Feels Just Right
- Experiment with a few different settings to see what works best on your system.
- Use the Oculus Performance HUD to monitor frame rates and ensure smooth gameplay.
- Plus, VR is creative—half the fun is in personalizing it.
Troubleshooting Common Issues
You’ve done everything right, but things still feel off? Don’t panic—here’s what to do about common problems:
Problem 1: Blurry or Low-Quality Visuals
- Double-check that the resolution width isn’t set too low.
- Update your GPU drivers and Oculus firmware—they can’t do their job if they’re outdated.
Problem 2: Stuttering or Latency
- If using Air Link, lower the resolution width to reduce Wi-Fi strain.
- Close unnecessary background apps sucking up your system’s power (we’re looking at you, Chrome tabs).
Problem 3: Changes Not Applying
- Restart the Oculus service via Task Manager:
- Open Task Manager (Ctrl + Shift + Esc).
- Locate any services like “Oculus VR Runtime” or “Oculus Client” and restart them.
- For extra measure, restart your PC entirely.
Find What Works Best for You in VR
Fine-tuning your encoded resolution width isn’t just a techy task—it’s your chance to make VR your world. By adjusting these settings, you can experience Oculus Link visuals exactly how you want them to look and play.
Whether you’re on a budget-friendly Quest 2 or using a high-end gaming rig with the Quest 3 and RTX 3080 setup, these tips are here to help you make your gameplay sharper, smoother, and more immersive.
Now it’s your turn—fire up the Debug Tool, start tweaking, and see what works best for your setup. Your dream VR experience is just a few clicks away. Trust me, it’s worth it.
Happy gaming!

